
As mentioned in my previous post, I grew up in a culture where canning was a summer routine. A favorite memory is of summer’s end when our basement shelves would be heavy laden with row after row of shining fruit and vegetable filled jars. This is my dream for my kids. That someday they can go to the basement and see row after row of our summer harvest, and feel the satisfaction of hard work paying off. Canning can feel mysterious and scary and I’d like to simplify it just a bit with some canning tips. Today seems fitting since it’s International Can-It-Forward Day. Make sure to check out the live webcast today(August 16, 2014) for great canning demos and tips – you can find it at the bottom of this post.

Quick Tips for Canning
- Not all things are safe to water bath can. Follow tested and approved recipes without ad lib. I cannot stress this enough. The biggest fear people have is that their canned food will kill someone. Follow the rules and you will be fine. For real.
- I have 3 go-to sites for all things canning – Ball’s Fresh Preserving, Food in Jars, and National Center for Home Preservation
- Foods with a pH level under 4.6 are safe to water bath can. Foods with a pH level higher than 4.6 must be pressure canned as they do not have enough acid to safely kill all bacteria. The FDA has a handy guide on the pH level of different foods.
- Choose fresh produce that is in good condition – not overripe or under ripe.
- Have everything set out before you start the canning process – cutting boards, knives, bowls, ingredients, pans, jars
, jar remover, funnel, clean damp rag, and seals. I recommend this Ball Utensil Set
.
- Fill your canner with water and get it going on high heat. It takes a while to come to a boil.
- Prepare your jars per the instructions on the box. If you don’t have the box, I like to put them in the canner to heat/sterilize. Just pull them out before the water boils. Another easy way is to pop them in the dishwasher on sterilize then leave the dishwasher shut until you use it so it keeps the heat inside. This helps keep jars form breaking when you fill them with hot liquid or put them into the boiling water.
- Put seals in a small saucepan on a back burner to simmer. This will soften the rubber seal. Keep an eye that you don’t simmer the water away. Charcoaled seals aren’t useable. Oops.
- Once your product is prepared per the recipe and your water is boiling in the canner, fill the jars, using a funnel to help keep the product IN the jar.
- Fill jars, leaving the amount of head space the recipe call for. This is to leave some air to help create the vacuum effect to seal the jars. If they are too full the product can boil over. If they aren’t full enough the jar may not seal.
- Wipe top rim of the jar to remove any food or liquid that could hamper the seal.
- Top with a seal and screw on the canning ring to fingertip tightness – this leaves just enough space to allow air to escape during sealing process.
- Lower jars into the canner, using a canning rack and ensuring water covers them by 1-2 inches. **DO NOT set the jars into the canner without something between them and the pan base. They can shatter.**
- Put lid on canner and watch for it to come back to a rolling boil.
- Once the canner comes back to a rolling boil, keep it at that boil for the amount of time specified in the recipe.
- Once time is up, let them set in canner5 minutes longer, pulling the rack up to rest on the edge of the canner so they are partially in the water still.
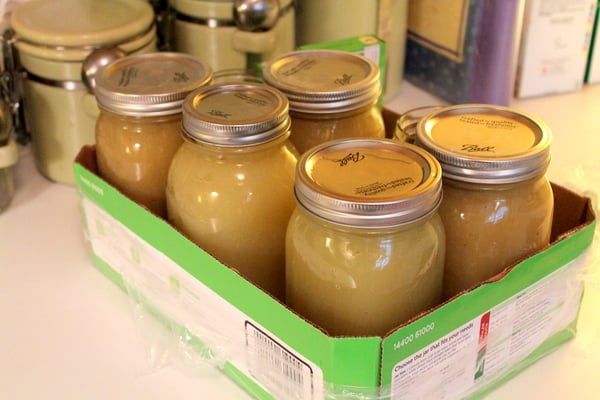
- Remove jars from canner and onto a spot they can rest for up to 24 hours. I like to set a towel out to catch any water run off and protect my table or counter surface.
- Listen for the beautiful popping sounds of jars sealing. Jars will be sealed when the center doesn’t have any give. Before canning look at how the seal rests on the jar. It will be a little popped up. Once they are canned and sealed it will no longer be popped up. Give the jars up to 24 hours to seal. If the product doesn’t seal, refrigerate and use or re-process. Don’t push down on seals to force seal them.
- Enjoy your hard work. Home canned foods taste so much better.
More Food Preservation Tips
Real: The Kitchen and Beyond is a participant in the Amazon Services LLC Associates Program, an affiliate advertising program designed to provide a means for sites to earn advertising fees by advertising and linking to Amazon.com.
10 Comments